
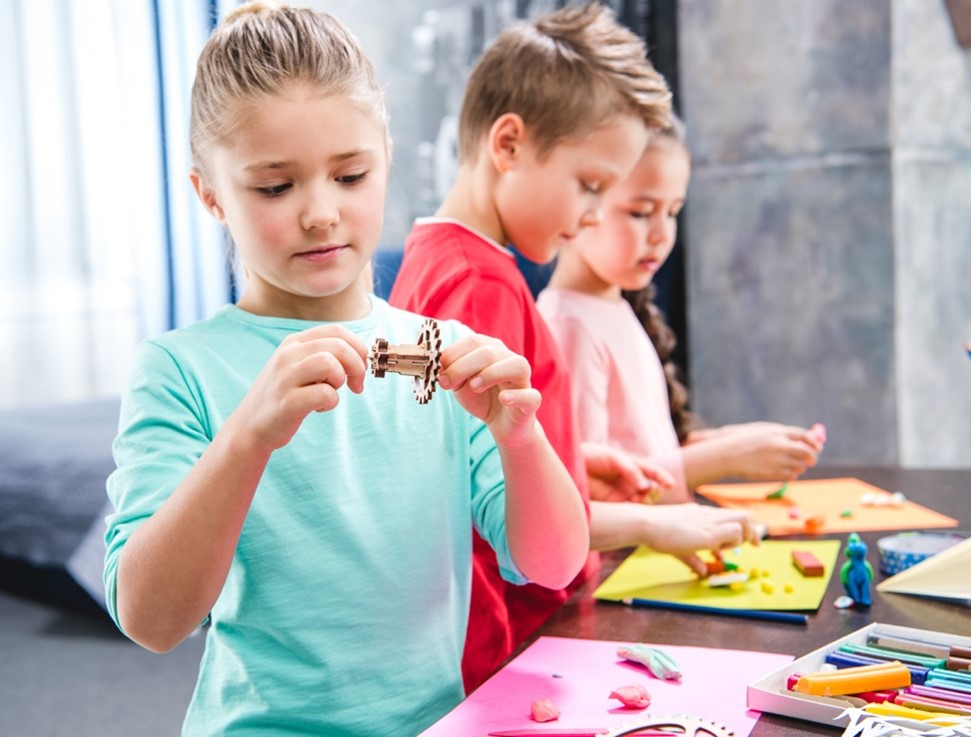
A makerspace is a dedicated learning area designed to promote hands-on learning and provide tools for discovering problems, generating solutions, and learning to apply skills and concepts to real world problems. Makerspaces focus on hands-on discovery, authentic learning, and design thinking. Design thinking is an iterative approach to problem solving that includes generating solutions and testing them through prototyping and feedback. Failure is an important component of this learning process.
There are thousands of makerspaces in schools, libraries, and community centers across the US, and more makerspaces are being created every day. They range from simple small designs in classroom corners to full scale implementations in school libraries or high school STEM or STEAM classrooms. The growth of makerspaces in K-12 education is taking place because school leaders and researchers are finding that these DIY spaces of discovery can greatly enhance learning outcomes and student engagement.
Creating a makerspace includes establishing clear goals, getting creative with design ideas, matching the design process to the chosen space, choosing furniture to support open-ended experimentation, and staying open by using iterative design to tweak your makerspace and change it up over time to continue to stimulate student engagement and learning.
Step 1: Establish Goals for the Space
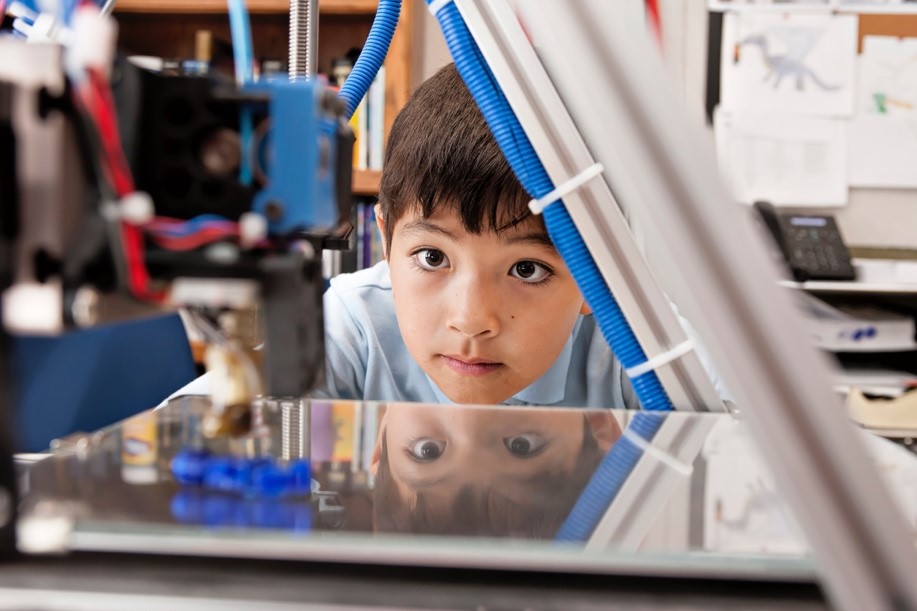
The first step in designing a makerspace in any K-12 school is to establish the goals for the space. All makerspaces provide a physical area for exploration, invention, and learning, but they differ in focus. Some makerspaces provide collections of resources and tools to be experimented with in a variety of ways and others have a stronger focus on technology by providing 3-D printers, laser cutters, computer labs, and other innovative tech tools. The goals of makerspaces can include innovation labs, hackerspaces, prototyping spaces, or STEAM labs.
The intended goals of the makerspace will dictate how the space will be used. Some possible areas of focus include arts and crafts, metalworking, textiles, robotics, music, or horticulture. Effective makerspaces often allow for multiple types of activities and the ability to combine activities, e.g. music and robotics. Makerspaces, by their nature, are multidisciplinary. Choose curricula that will match the goals of your space. Great curated collections of curricular for makerspaces can be found at the MakerEd Resource Library.
Step 2: Get Creative
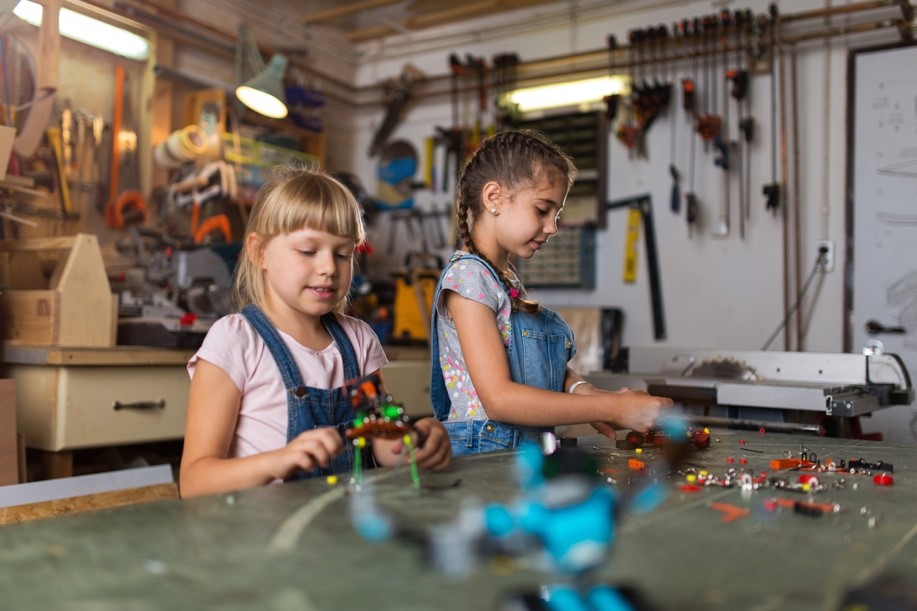
Start by pulling together a small group in your school to discuss what activities might be a good fit for your students. Include a diverse group of people to help with the implementation process. This could include administrators, instructors, curriculum coordinators, students, and community members. There is no one right way to build a makerspace. While many spaces have expensive items such as 3-D printers, others have more budget-friendly resources such as sewing machines, wood and woodworking tools, or art supplies for building out models.
Think about your school priorities and what skills and learning you want to target. Do you want your makerspace to have a strong STEM or STEAM focus? Should the focus be on engagement, vocation skill building, or open-ended problem-solving skills? What are some creative ways to tie the space to your curriculum? Do you need to bring in new curricula or professional development to ensure that your makerspace is used to take advantage of its affordances?
Makerspaces use iterative design that includes designing prototypes, testing them, and improving them again and again. As you design your space, consider using this strategy in your process. Go through several iterations and conduct small test sessions to tweak your strategy before embarking on a full-scale space renovation.
Step 3: Connect Design Decisions to Match the Space You Choose
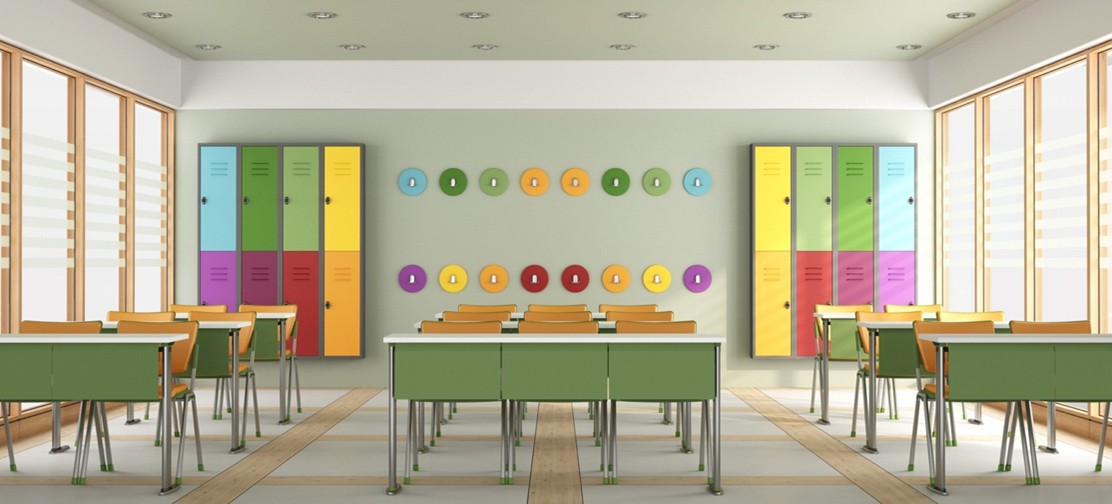
Figure out what space in your school will work well for creating a makerspace. Will several classrooms have makerspaces? Is the school library the best place to house a makerspace? Be sure that there is enough room for students to flexibly work. A general estimate is that for a dozen students, 400 square feet is the minimum amount of space needed to support student activities.
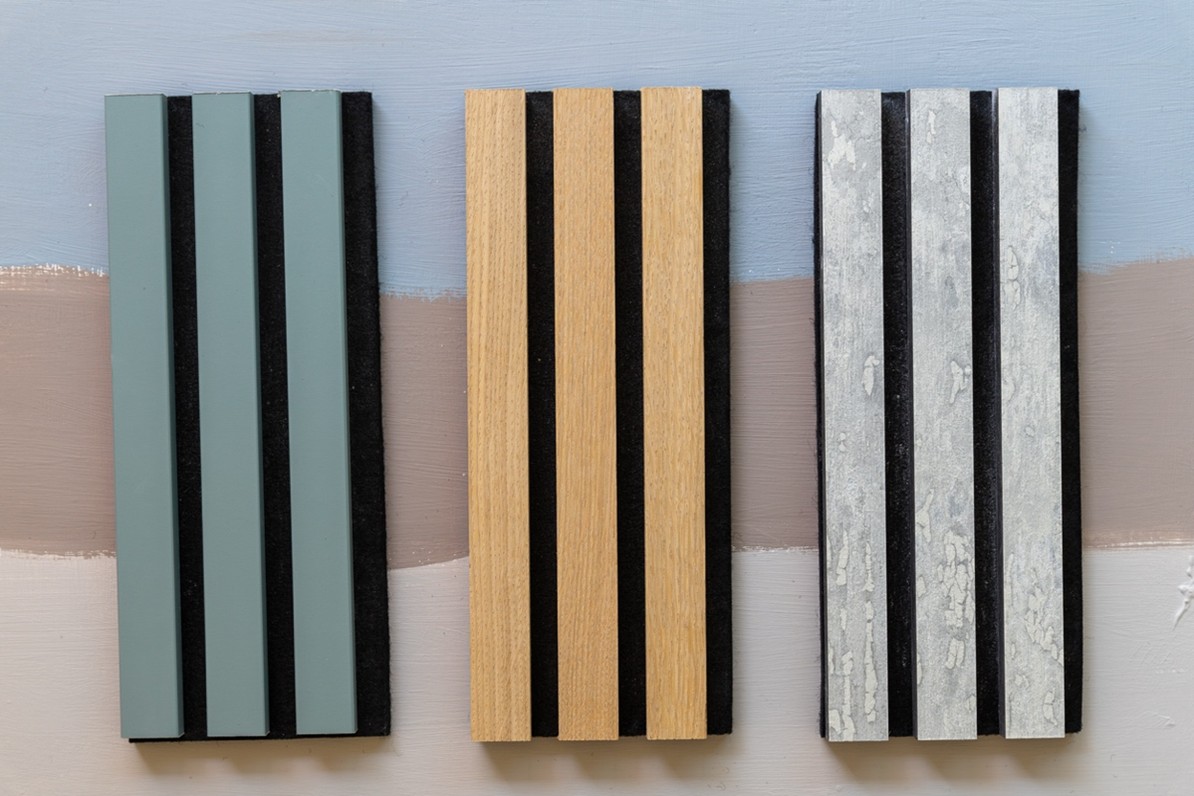
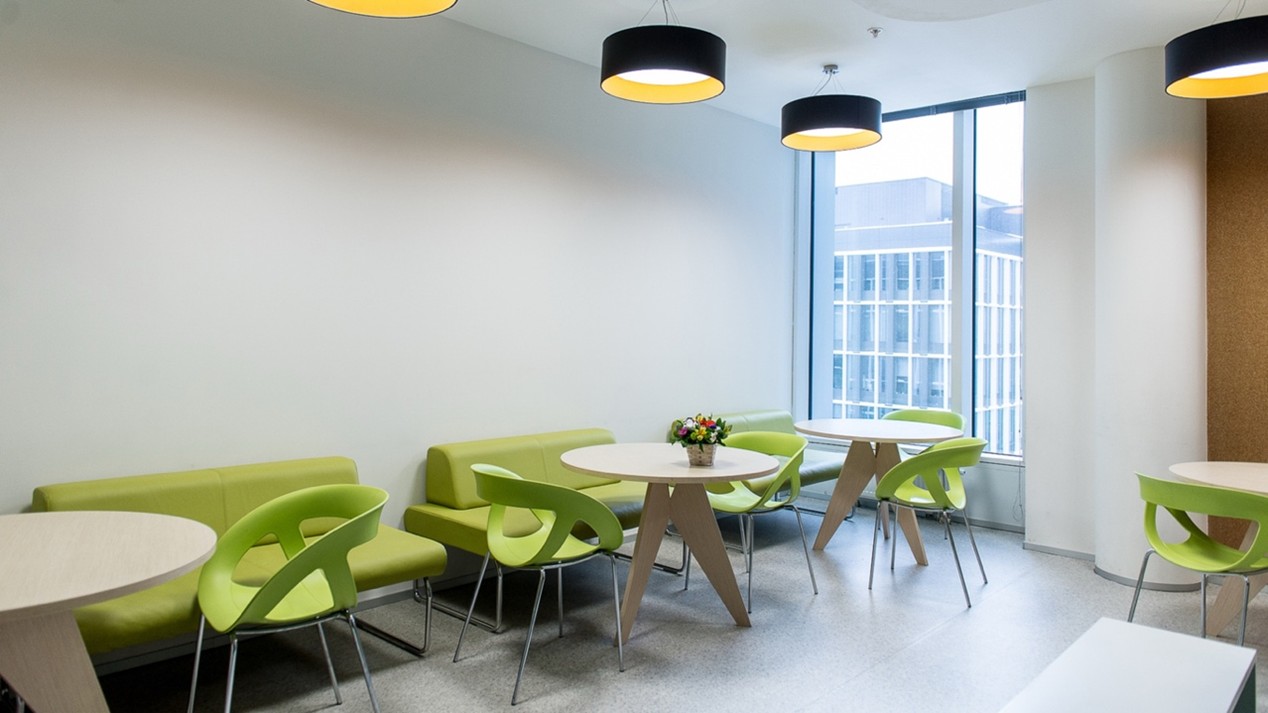
How you design the aesthetics and atmosphere can help feed engagement and signal to students that this space is dedicated to encouraging exploration. Create a space that encourages experimentation and choose colors and light to create a stimulating atmosphere. Provide display areas that can showcase student design processes and creations to inspire other students. Even the corner of a classroom can be primed for makerspace activities by providing interesting tools and flexible workspaces.
For smaller spaces consider sharing carts or rolling tables to transport tools between classrooms. For larger makerspaces create dedicated areas for specific types of activities with lots of workspace and storage.
Step 4: Select furniture to support the goals of the makerspace
Storage space, tables, comfortable flexible chairs, and whiteboards or write-on whiteboard painted wall surfaces can be used for planning and ideation that will help reflect the goals of your space. “Breakerspace” stations where students can take things apart to construct new designs requires substantial table space and wall space can be used for cupboards or peg boards to organize tools and supplies.
Incorporate technology by including charging stations, laptop or tablet bins, and power strips. Consider bins, cubbies, shelving, or rolling carts with a checkout system. Workspaces can vary greatly from flexible collapsable tables that can be set up at point of need to long workbenches, lab tables, and presentation space. If you have a large space, consider having a limited-access tool area for older students who have receive safety training, as well as an open-access tools area.
Step 5: Stay Open!
Keep your design open-ended to provide room for new technologies and new ideas about how to use the makerspace. Start simple and gradually build functionality by expanding the number of tools and materials available to students. It can take two to three years to fully implement a makerspace and incorporate it into the flow of school activities. Seek out and encourage new curricula that mesh well with makerspace activities.
The beauty of makerspaces is their ability to constantly embrace change, iteration, flexibility, and failure! Make plans to revisit the space annually to tweak or expand the design of your space.

Leslie Stebbins is the director of Research4Ed. She has more than twenty-five years of experience in higher education and K-12 learning and instructional design. She has an M.Ed. from the Technology Innovation & Education Program at the Harvard Graduate School of Education and a Master’s in Library and Information Science from Simmons College.

